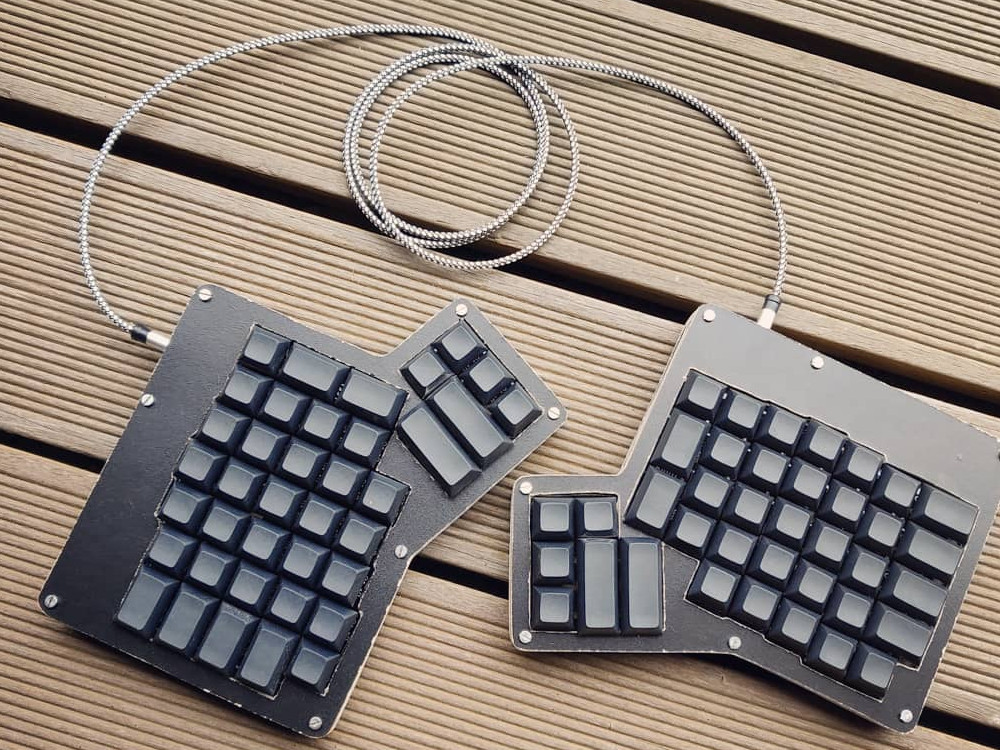
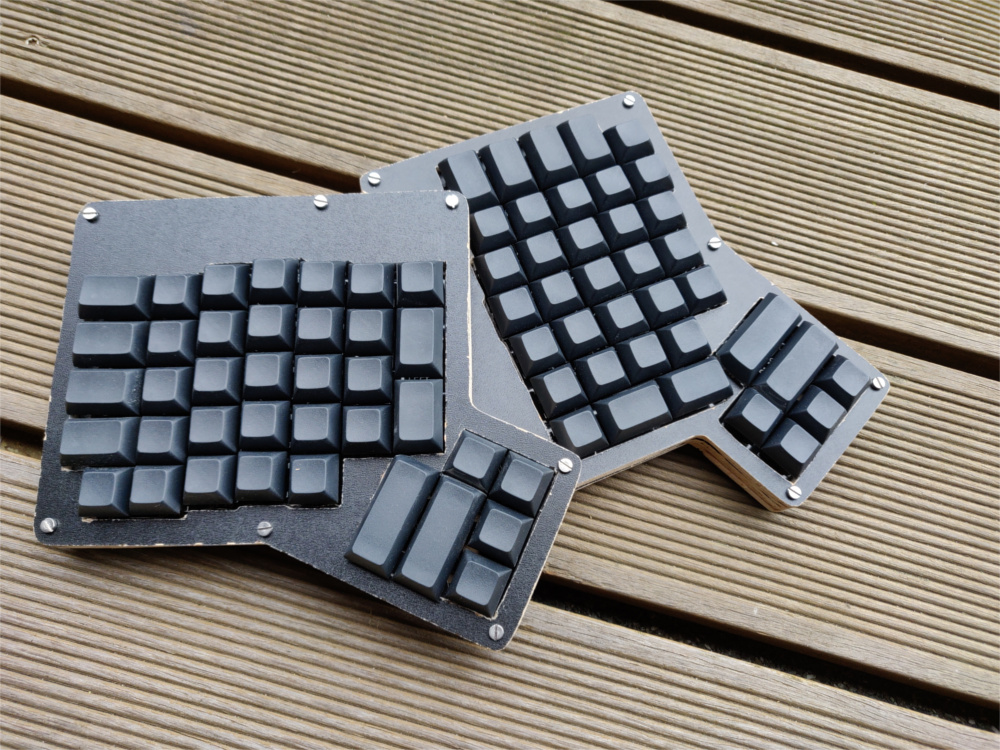
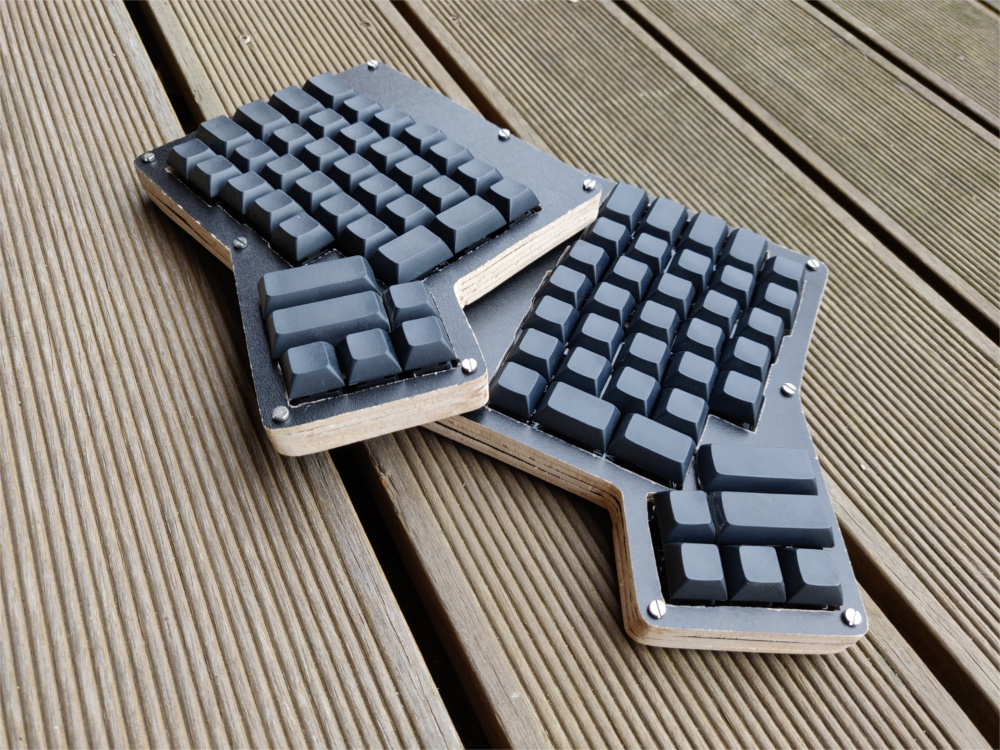
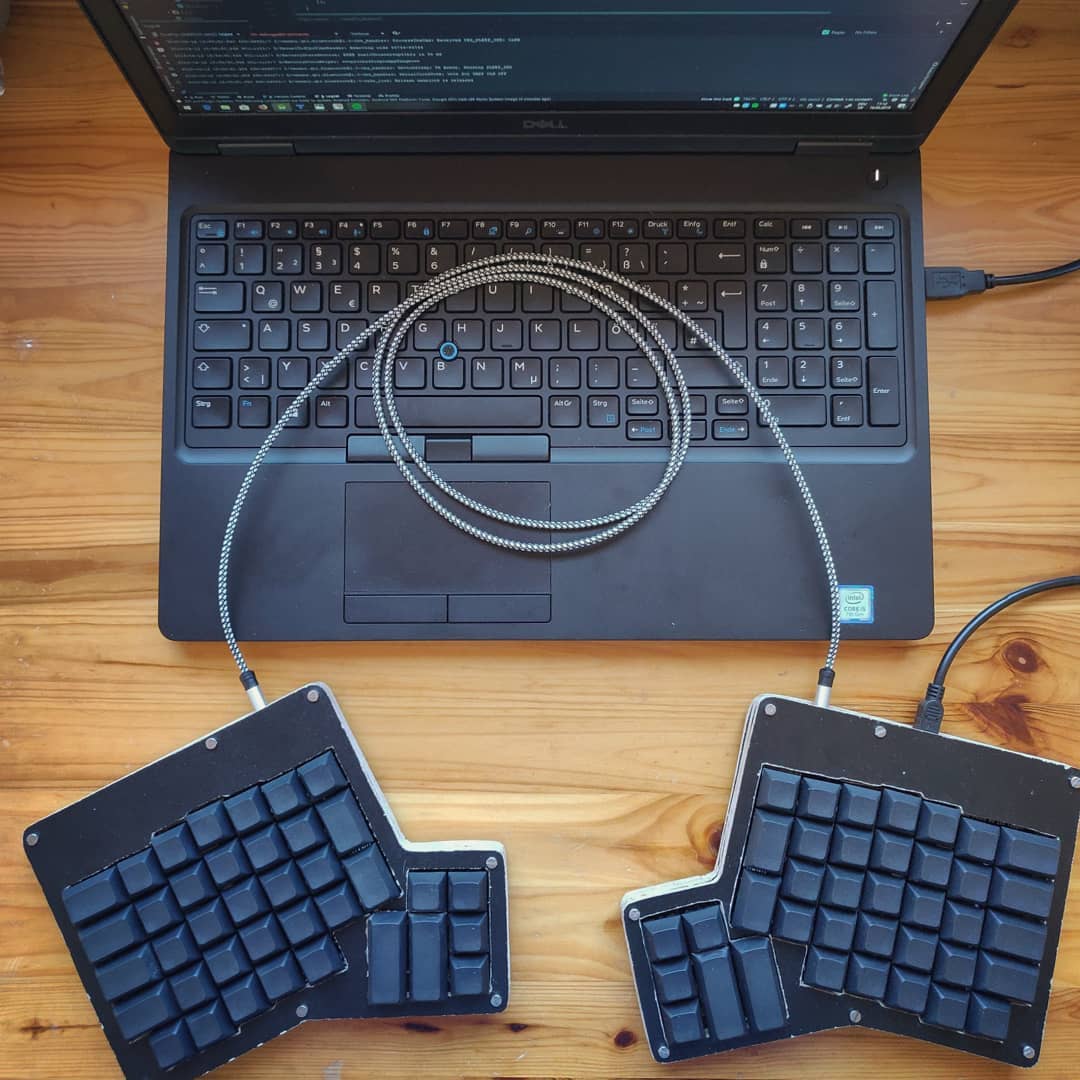
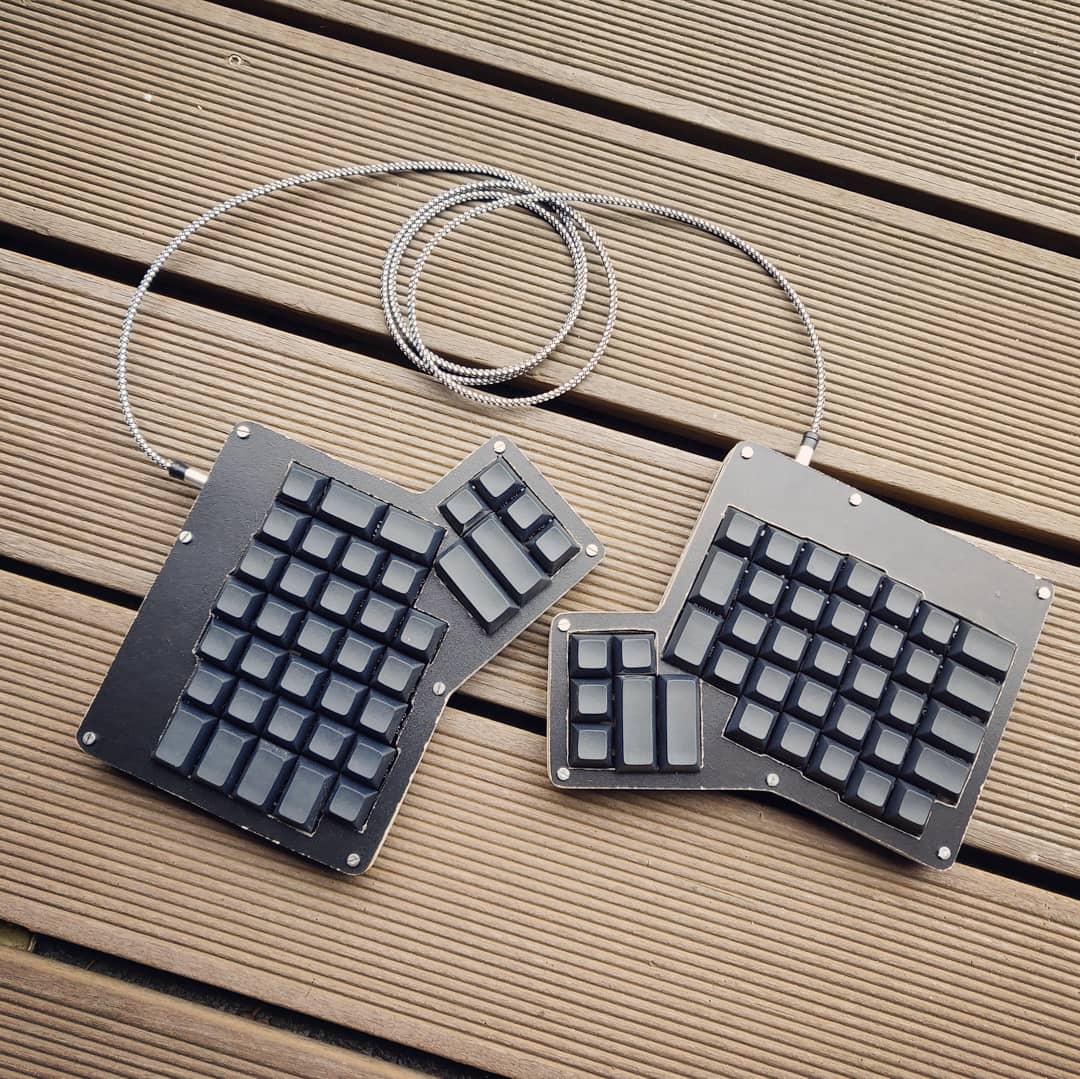
Lately, I really got into mechanical keyboards and during my research for ergonomic keyboard, I stumbled upon the Ergodox. As you can see in the above picture, it is a split keyboard that keeps your wrists from bending too much. The keyboard layout is completely customizable and provides multiple layers to work with. This allows many things e.g. controlling the mouse without moving your hand away from the keyboard. I wanted to have one of those and searched for one, but I could only find an expensive one from Ergodox EZ. Fortunately there is a huge community that built their Ergodox themselves since the it originally started as a hobby project of a keyboard enthusiast.
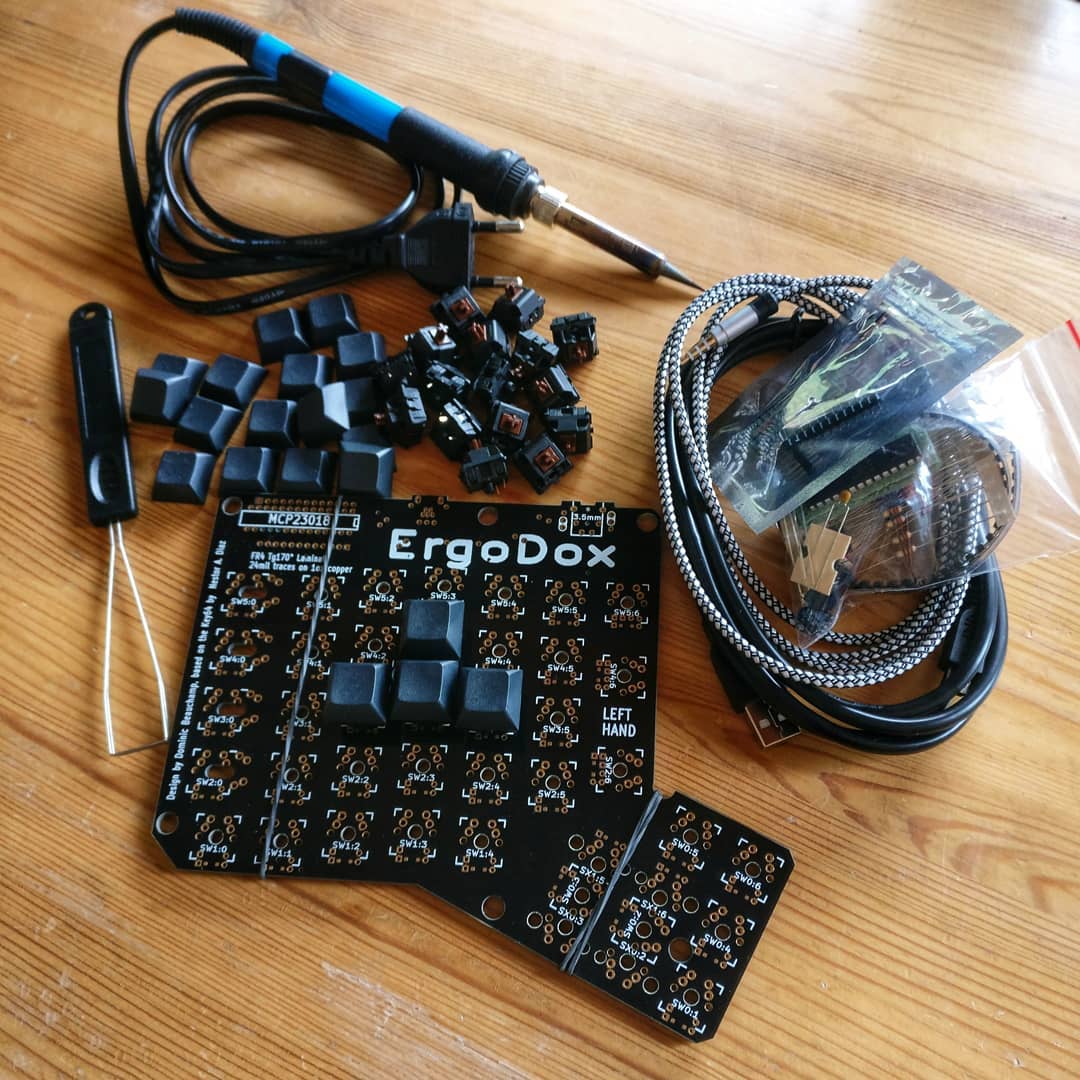
After making up my mind, I started researching a lot about all the different parts I would need and where I could get them the cheapest. After a lot of back and forth I got almost everything from FalbaTech. While waiting for my order I started watching soldering videos and tried a bit on some scrap metal. The soldering part was a lot of work and took the longest time right after building the case.
Next up was flashing the Teensy with the firmware and a lot of testing. Not to see if the keys are working but also to find my own layout that I felt the most comfortable with.
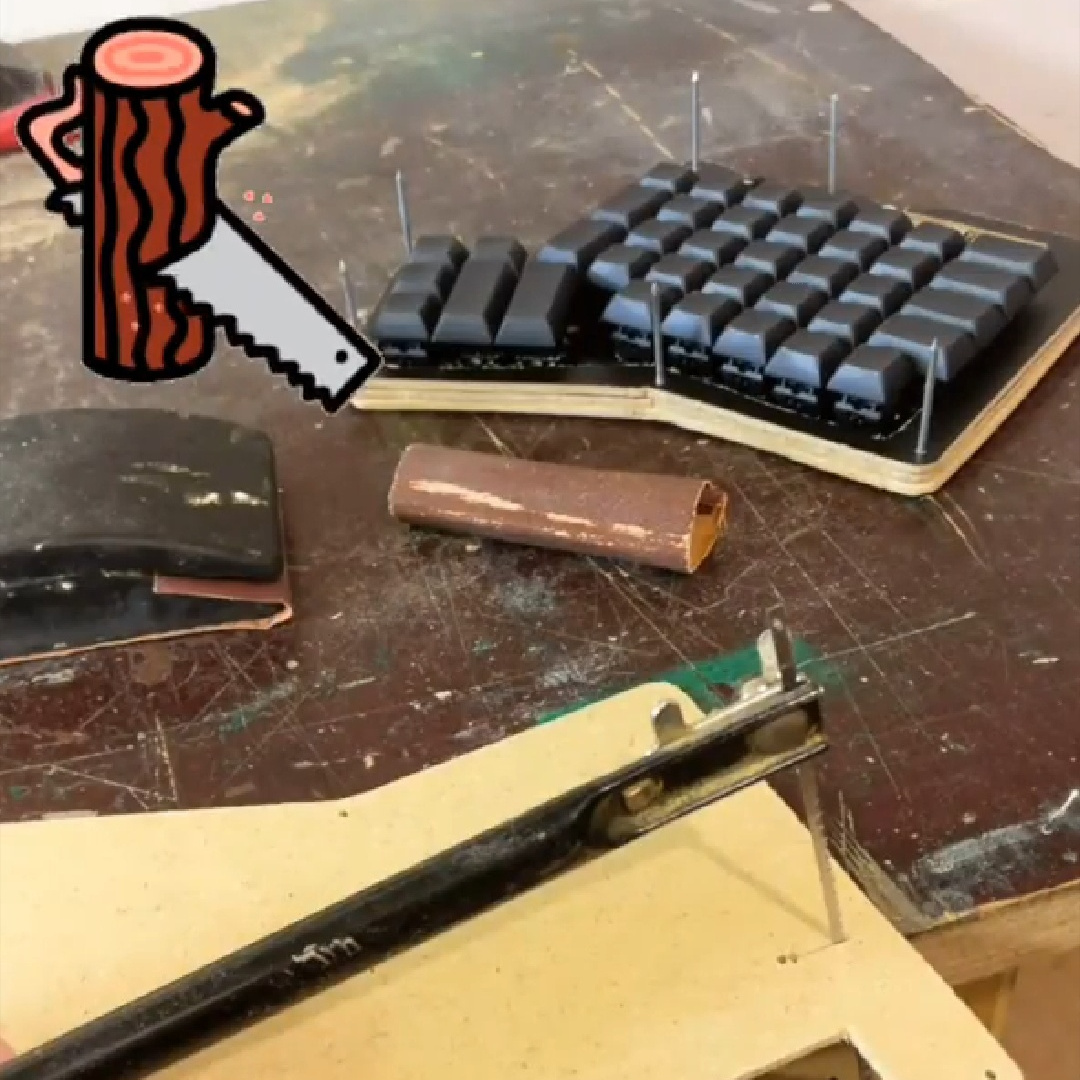
The last step was building the case. At first I wanted an acrylic case, but I couldn’t find any afforable laser cutters to do the job. Then I decided to just make my own case out of wood. I downloaded the blueprint (Link below, you need a program to open the .dxf files) for the acrylic case, mirrored and sketched them onto the wood. In the next step I cut them out with Tweezers and screwed them together. After some sanding the case fit perfectly and the project was finally done!
Technical Details:
- Technologies: Ergodox Tutorial, Ergodox Assembly, Ergodox EZ Layout Configurator, Ergodox Case Files
- Tools: Soldering Iron, Fretsaw, Screwdriver, Tweezers
- Parts needed:
Personal Development:
I learned a lot while building my Ergodox. First I had to know how all the pieces work together and what the steps to take are. Then I had to teach myself soldering and how to not burn everything on the first try. 😄 I actually managed to solder all but two Diodes on the first try. I had to do a lot of cutting and now I can say that I am fairly good with Tweezers!
