These days, there aren’t many developers who haven’t heard of the Raspberry Pi. A small, single-board computer that lets you create almost anything you can think of. When I wanted to start experimenting with this little wonder the new Raspberry Pi 3B just got released. Even though I didn’t have an idea in mind I wanted to get deeper into the matter. First I configured Bluetooth and Wi-Fi, then I set up a web server and developed a web interface with Python and the Flask Framework for controlling my sound system with my smartphone.
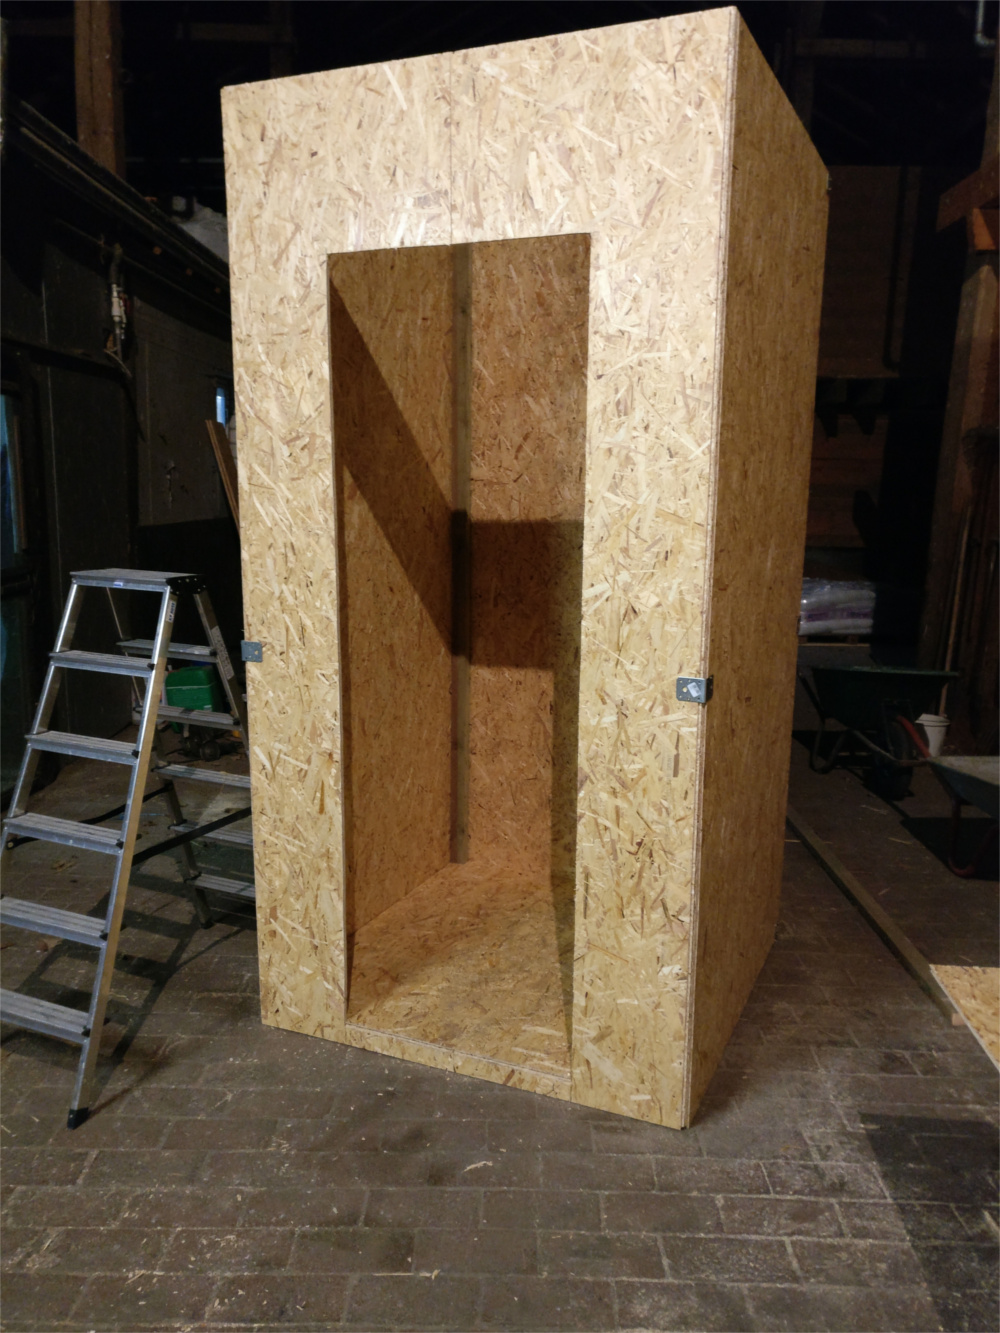
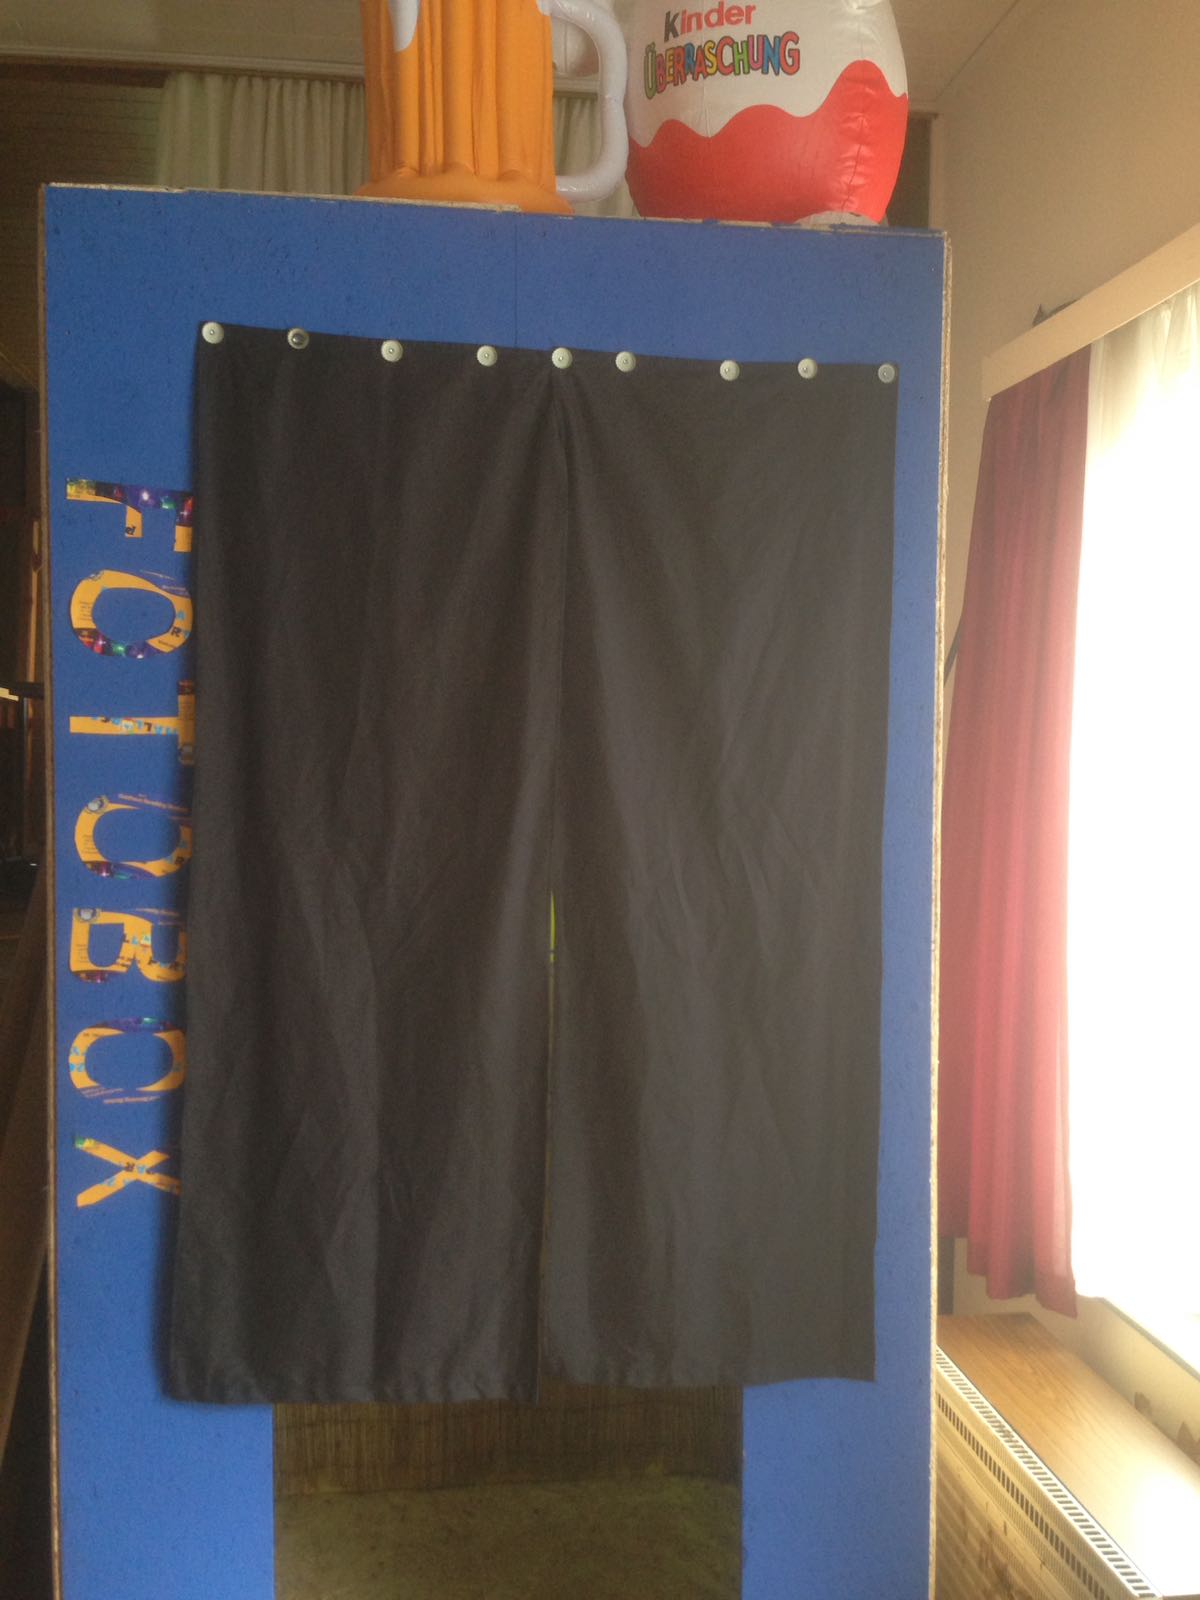
Later I stumbled over the idea for the photobooth. We were looking for a photographer for a party, but professional photographers are a bit pricy and no one wanted to do it voluntarily. One suggestion was to rent a so-called “Selfiebox”, but unfortunately these also have their price. Without further ado, I volunteered to build our own photobooth. I worked together with an electrician and a craftsman to get the job done faster.
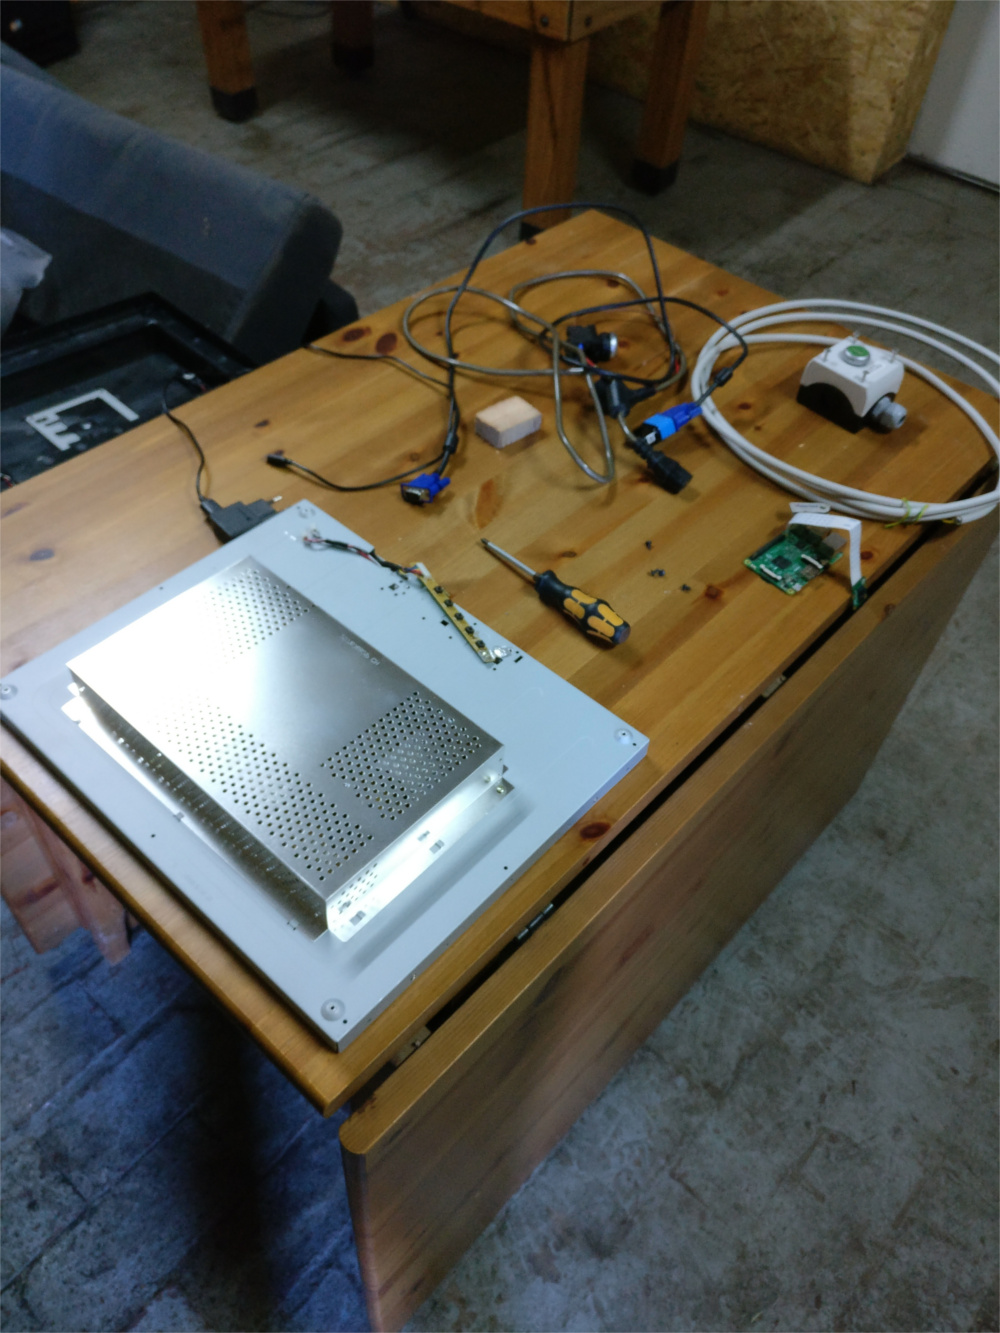
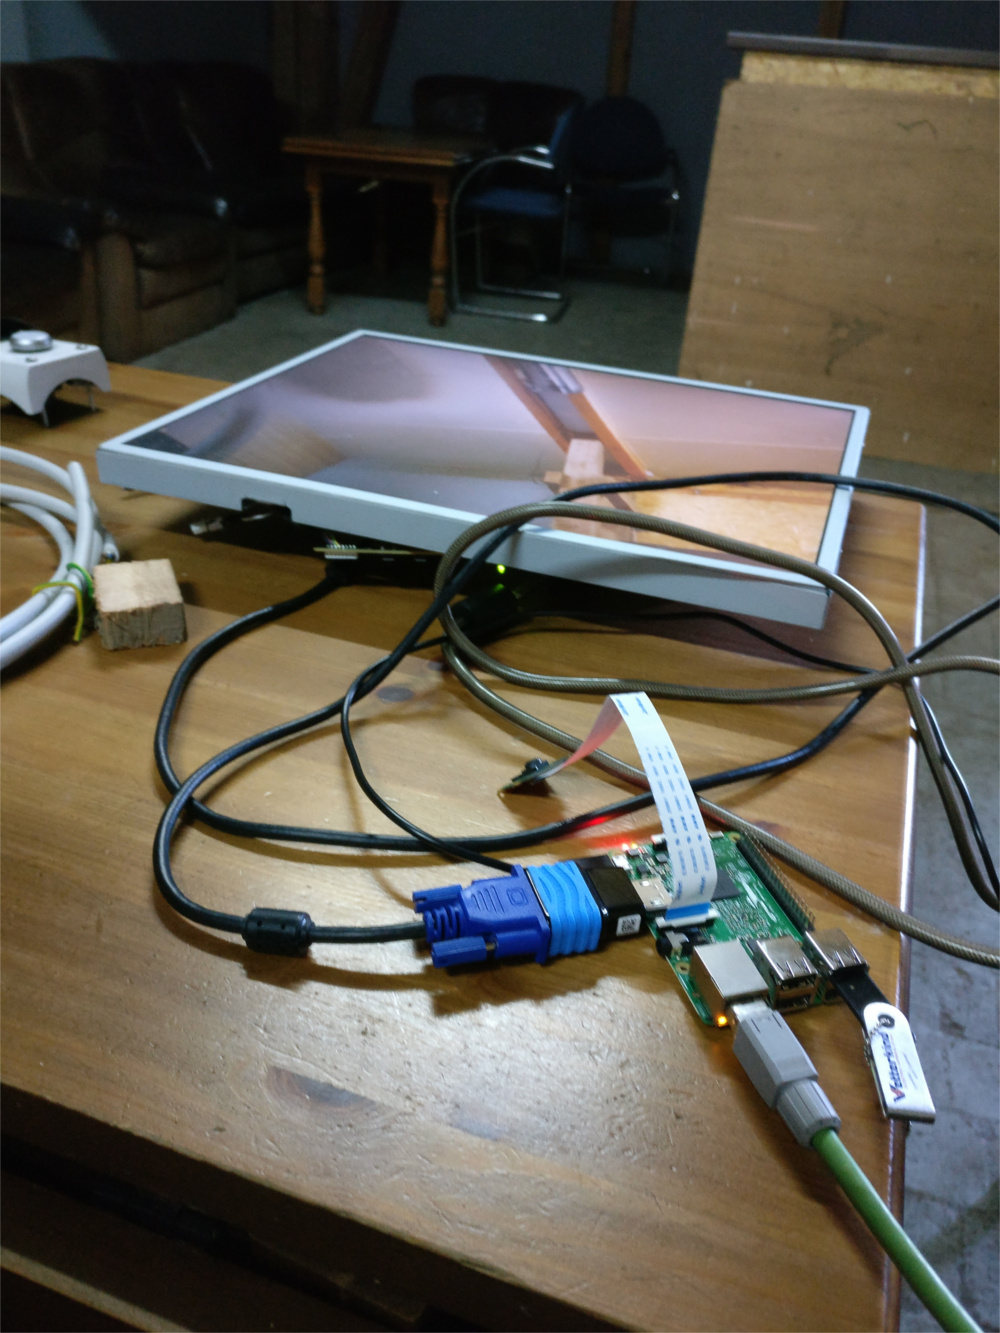
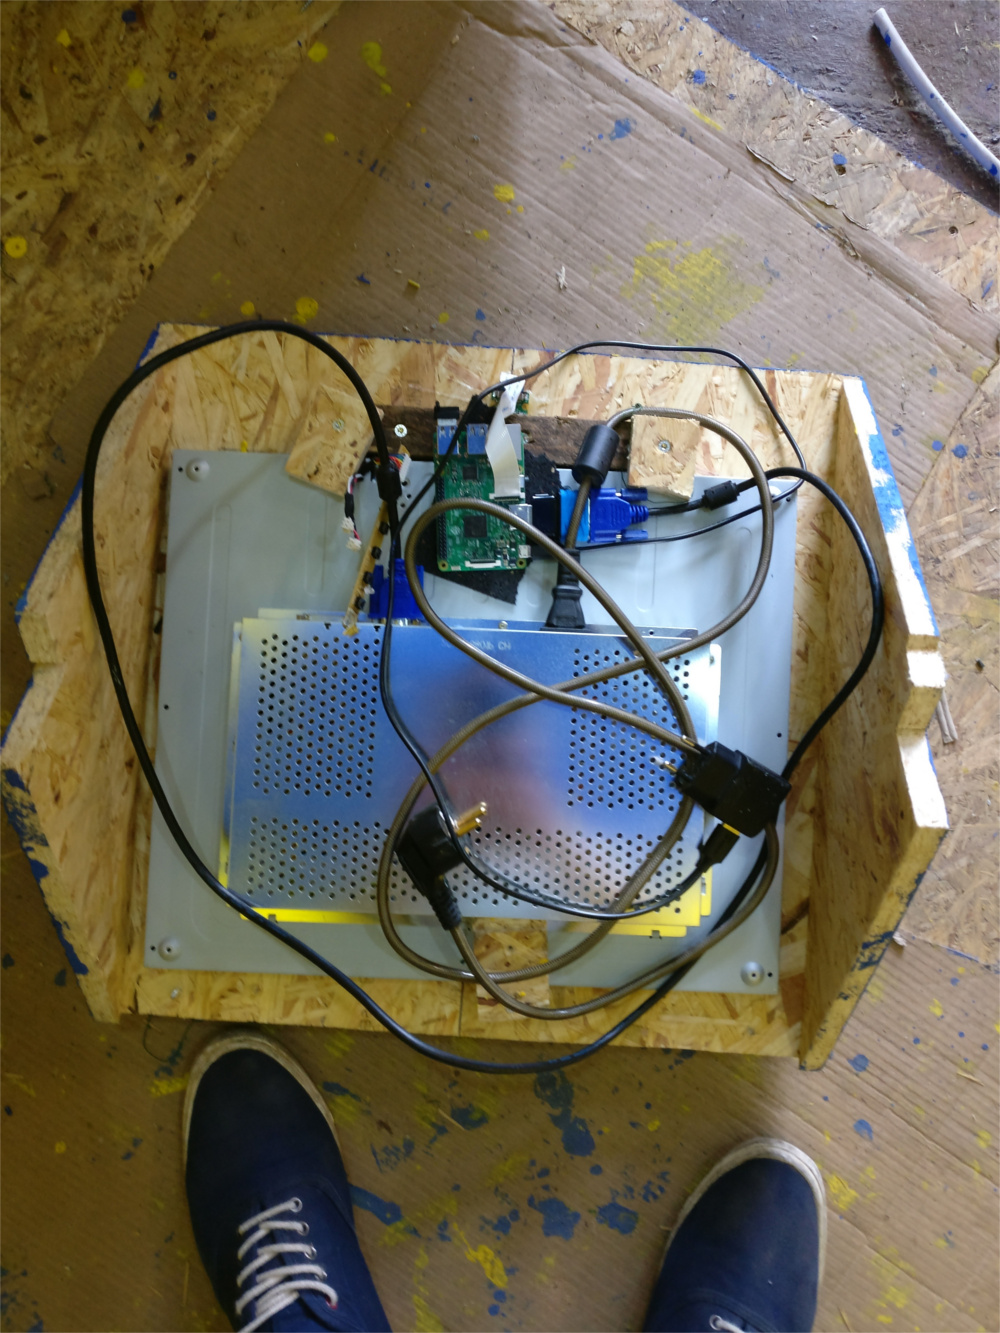
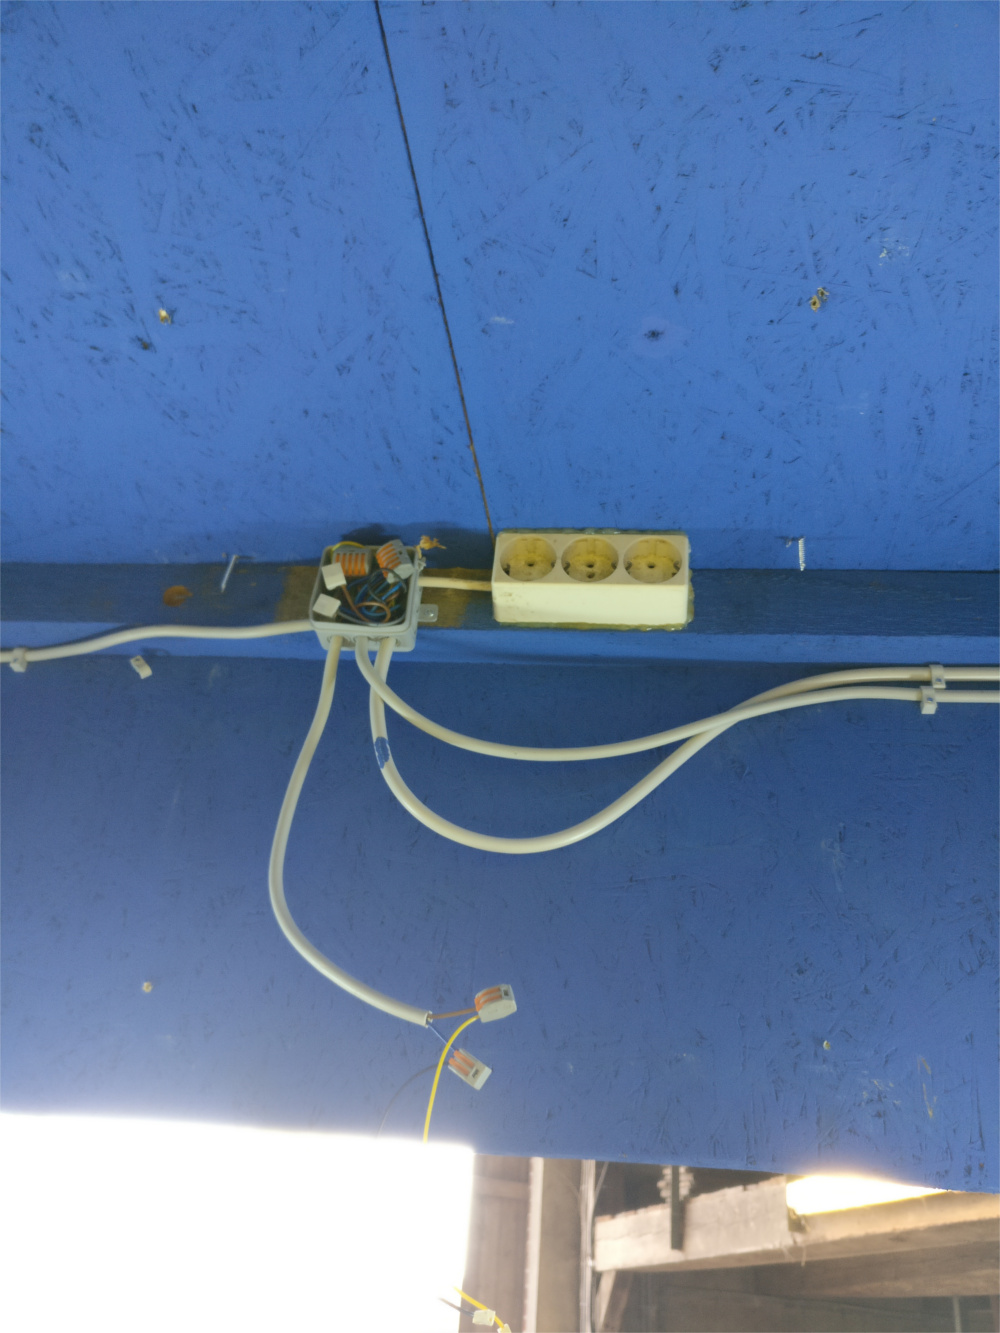
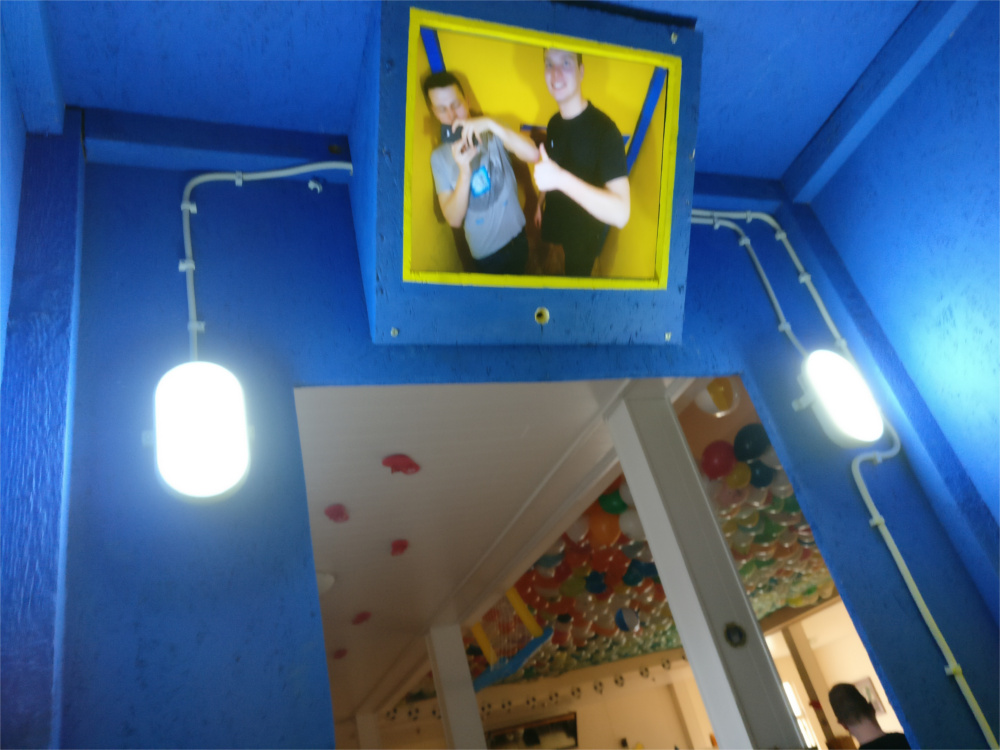
In the beginning, we planned out the project and what the final product should look like. We created some sketches and ordered the necessary parts. Next to painting and assisting with the assembly my main task was the development of the software for the Raspberry Pi. I used the Picamera library, which is recommended by the Raspberry Pi Foundation and developed by Dave Jones, for the program. After a few tests and getting used to the API, I planned out the software. Naturally, I had to follow a few requirements. The images needed to be saved on a USB drive so it could be given to the customer. Also, the monitor should display the cameras view in real-time and after pressing the trigger a countdown timer should be displayed. Finally, the photo is displayed for two seconds. Unfortunately, the Picamera library wasn’t powerful enough for our requirements so I had to come up with my own solution for some problems. After a few tries, I got a satisfactory result.
Update
I used the Wifi capabilities of the Pi to implement a live slideshow. You just need a device connecting to the Wifi and going to the localhost address via a browser of your choice.
Technical Details:
- Technologies: Python, Raspberry Pi, Camera Module V2
- Tools: PuTTY
- Frameworks/Libraries:
Personal Development:
This project was the first time I worked with Linux. Due to the earlier mentioned sound system project, I was used to the command-line and the whole operating system and even started to appreciate it. Today, I use Manjaro Linux on my laptop and can’t imagine developing without the command-line. As a nice side effect, I got some basic skills in the Python language.